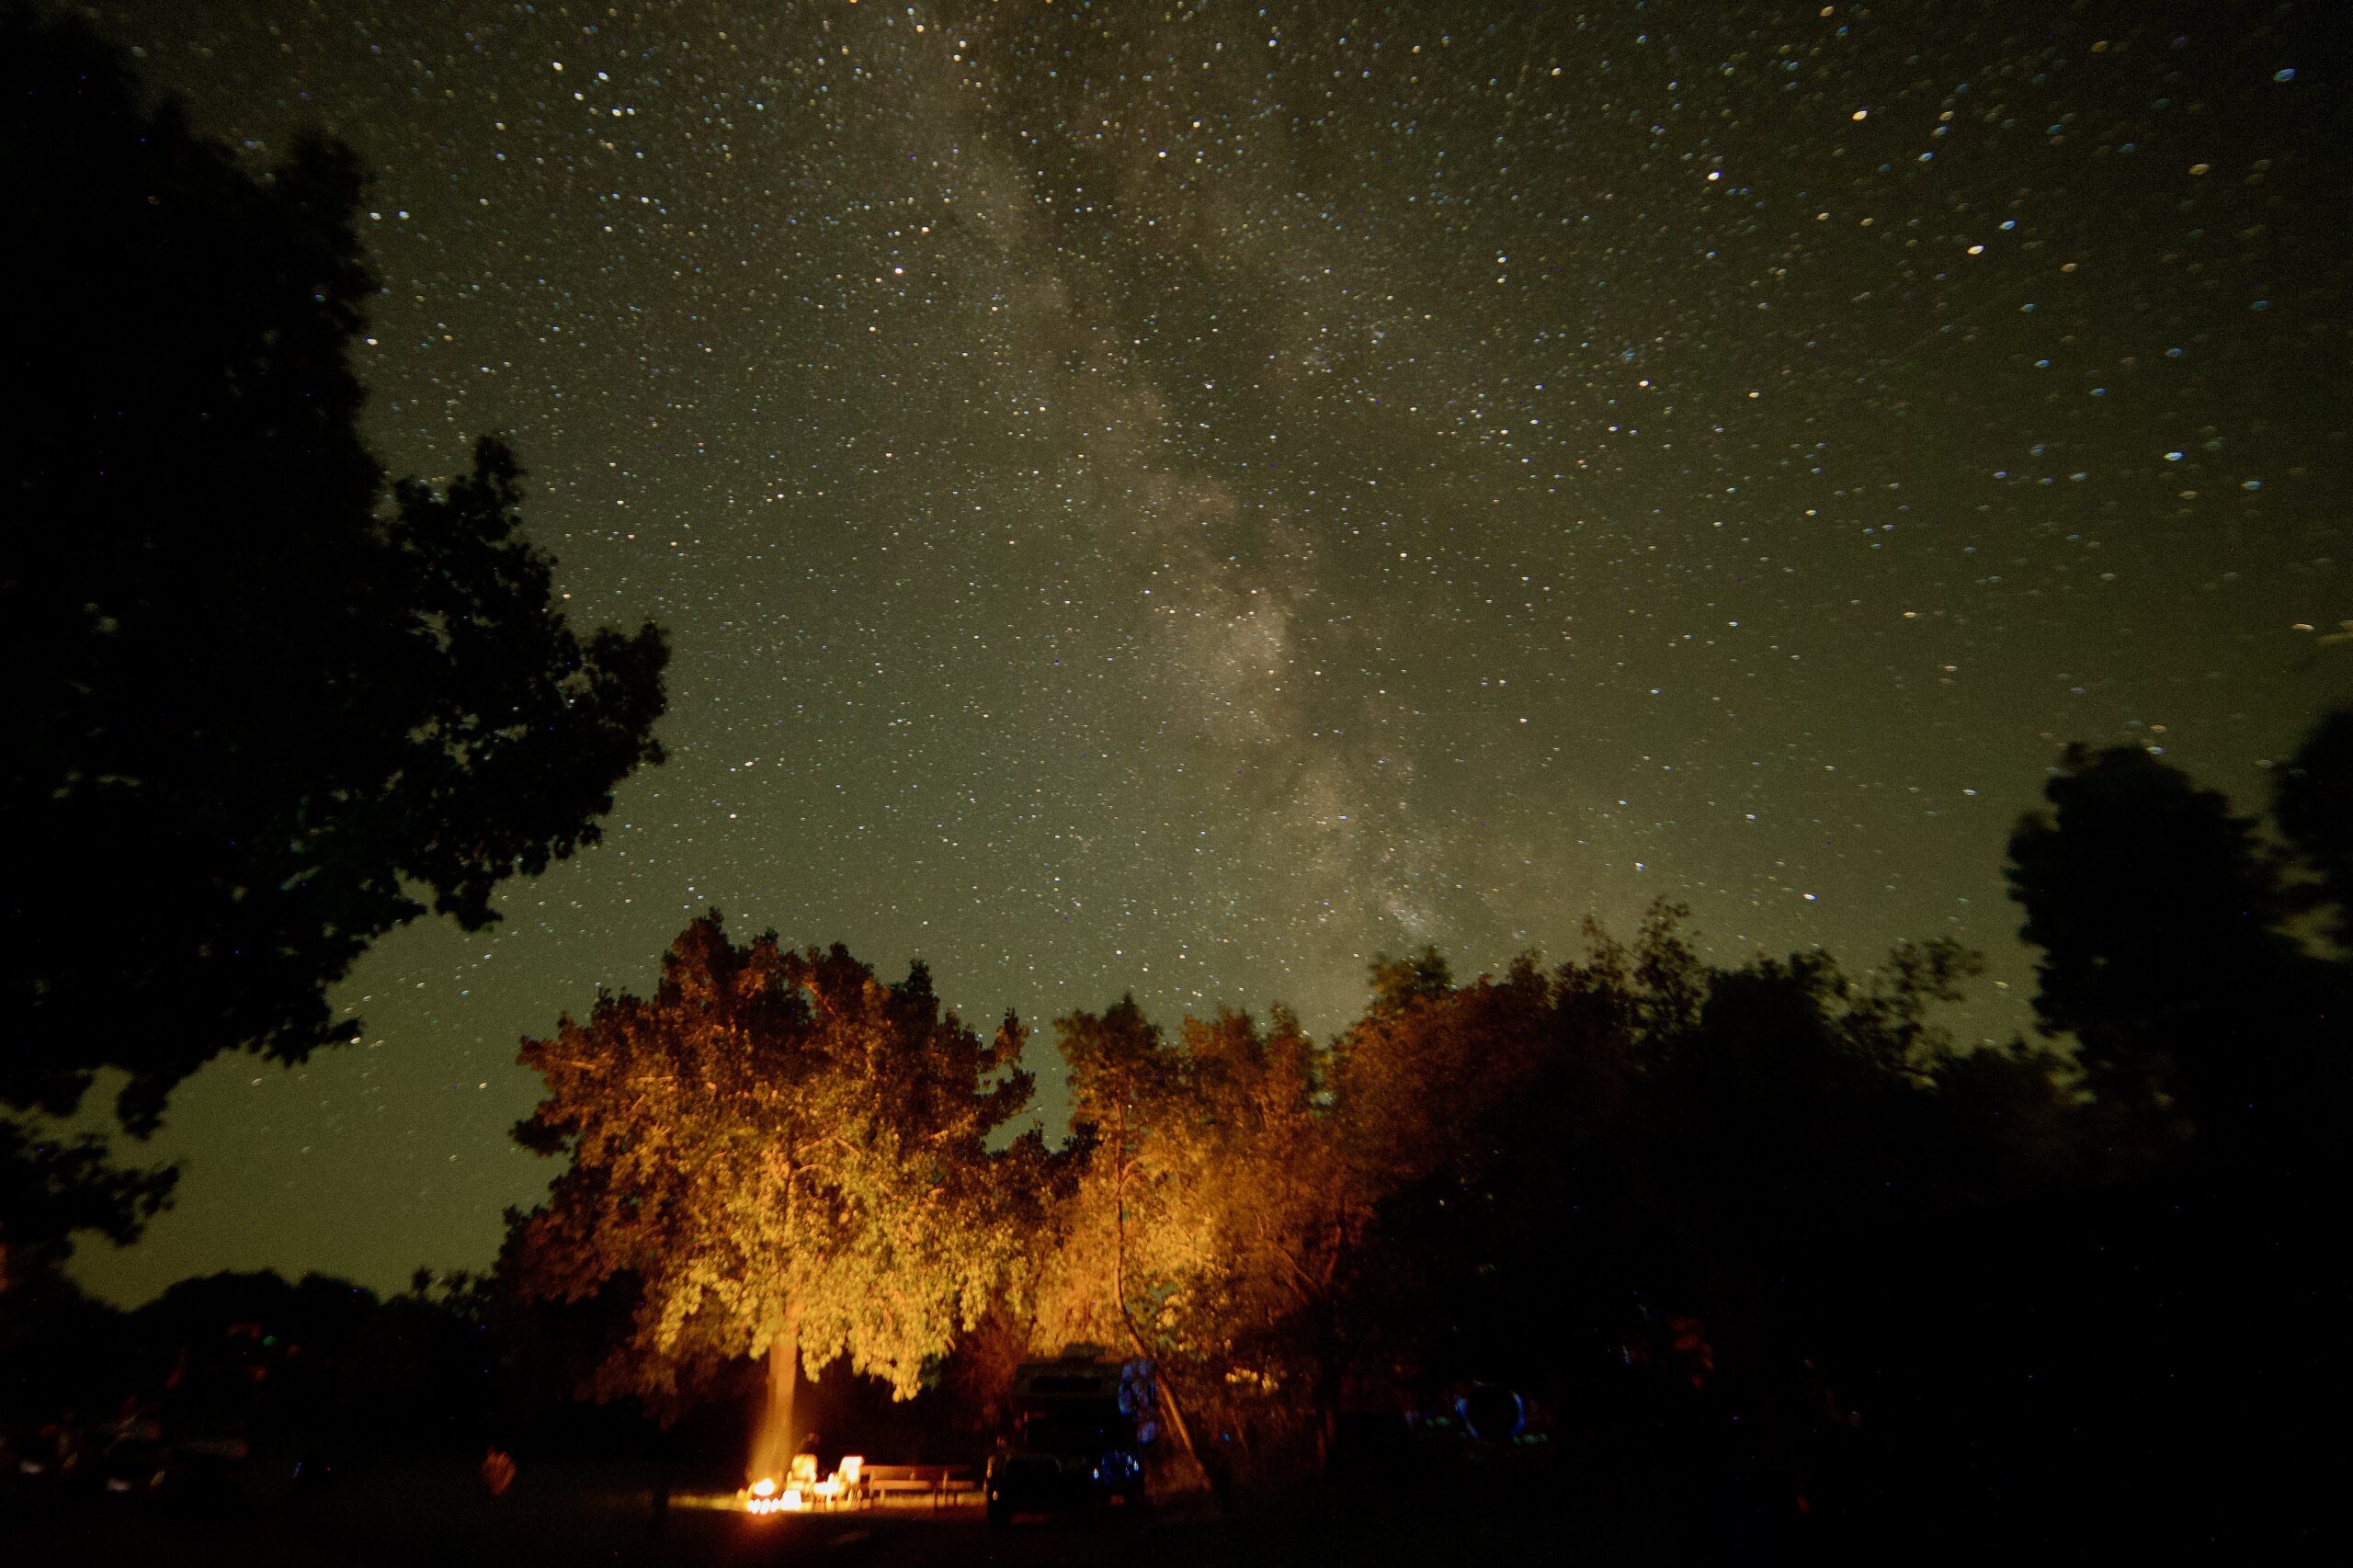

Featured image: With the right equipment, your journey will be even more memorable| Photo by Carol Patterson
My best recommendations for cameras, binoculars and telescopes
by Carol Patterson
If you’ve recently developed a fascination with the sky and the objects in it, you might be looking for gear to give you a better view. As a professional photographer and member of the Royal Canadian Geographical Society who loves eclipses, dark skies and wildlife watching, these are my top equipment suggestions to make your next journey more memorable.
(Please note: this article includes Amazon and other affiliate links, but we only ever recommend items we think are relevant for you and we’ve tried ourselves that will benefit you on your travels. If you decide to purchase a product through one of these links, we will receive a small commission that doesn’t add any cost to the purchase of an item and helps us maintain our website and other services to you!)
“Astronomy taught us our insignificance in Nature.” – Ralph Waldo Emerson, Poet
Best Binoculars, Cameras, Spotting Scopes and Gear
1. Binoculars and Spotting Scopes
Binoculars are handy for many reasons. Whether it’s spotting a yellow-breasted chat, a crater on the moon or reading a route sign at a distance, binos are handy.
Experts describe binoculars by two numbers, the first is magnification, the second is objective lens size. So an 8 X 20 binocular magnifies an object eight times and the front lens is 20 milometers across. A wider lens means your binoculars let in more light and you’ll see better. A popular size for birdwatchers is 8 X 42 but if weight is an issue you can go for something smaller. I love my Leica Trinovid BCA 8 X 20 because they fit in my pocket and I never miss a cool sight.
Spotting scopes are great if you’re looking for wolves in Yellowstone or whales offshore Pacific Rim National Park. A good unit to start might by something with a 20-60 zoom and a 65-86 mm objective lens like this Pentax PF-80ED-A and Pentax SMC XL20-60 eyepiece . You’ll need a sturdy tripod to mount it, adding to your luggage weight and cost if you’re flying. Spotting scopes can be used after dark for the moon or planets but for star gazing, you’ll want to upgrade to a telescope.
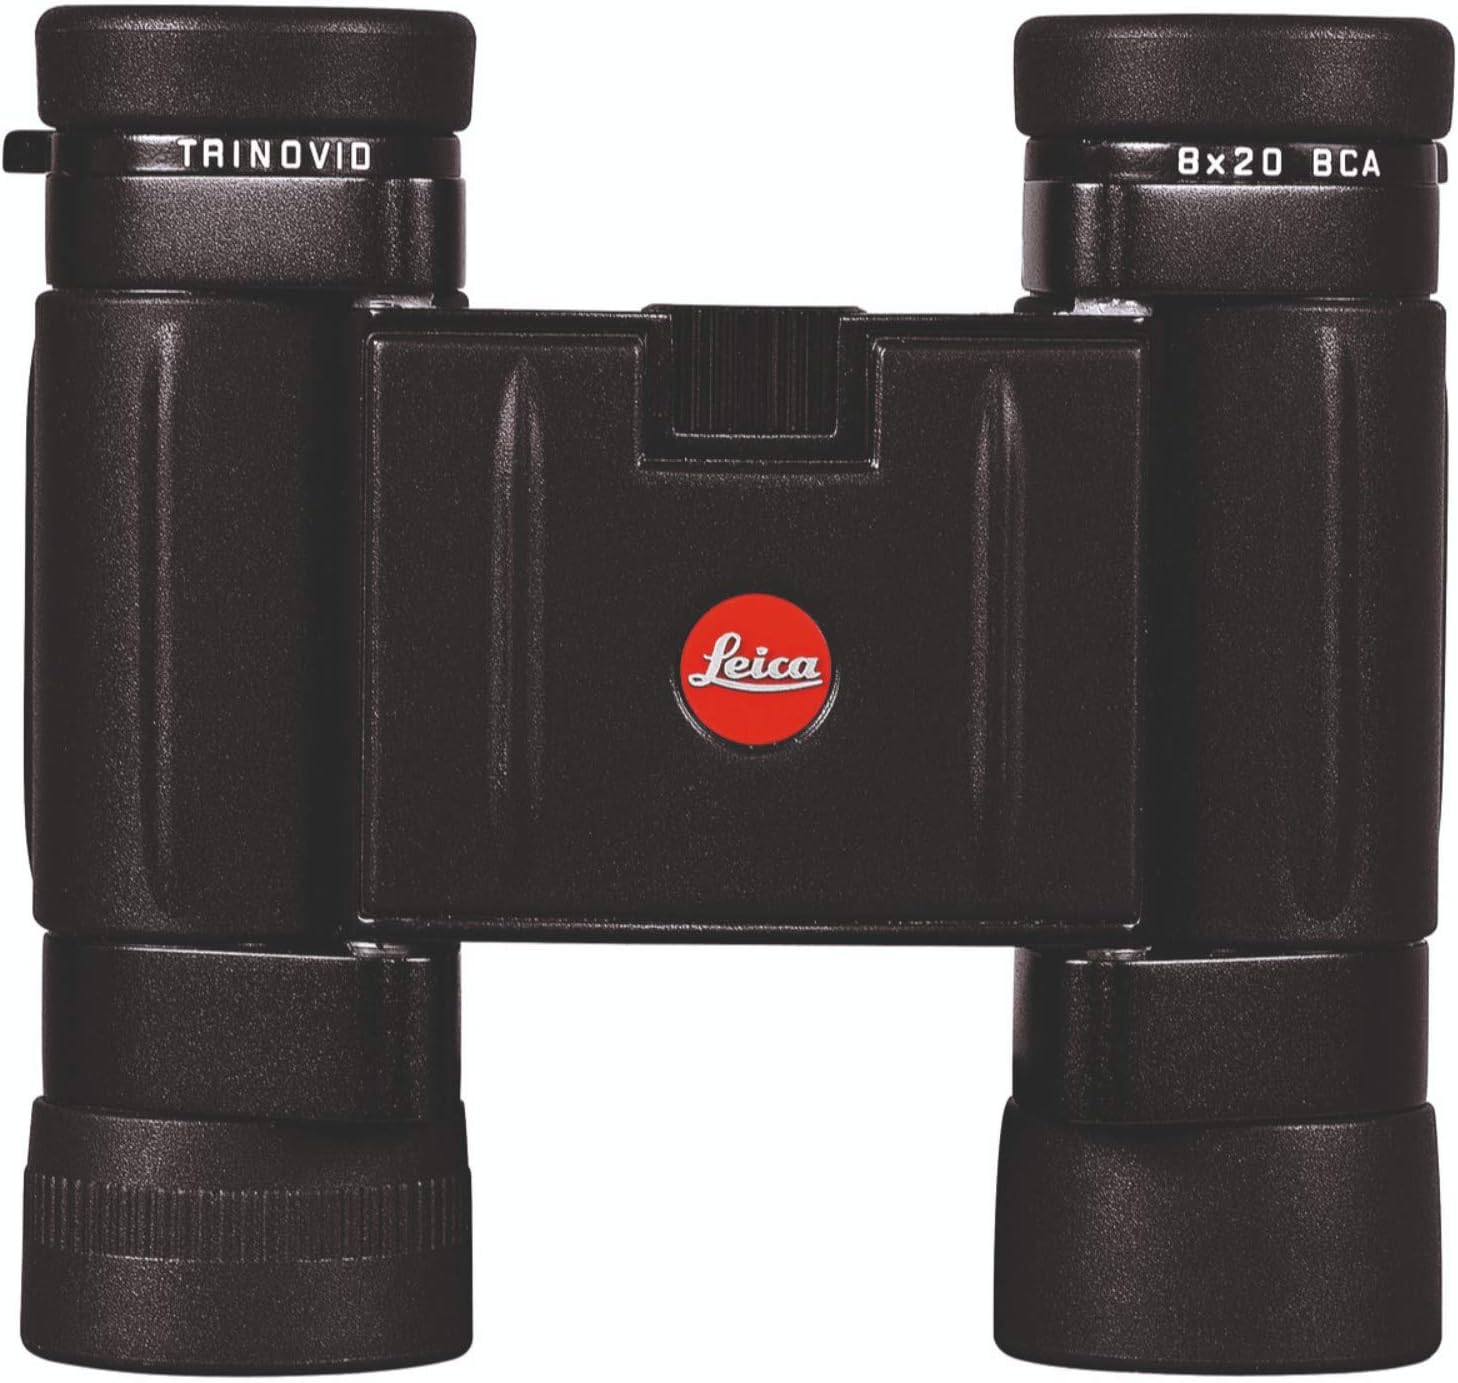
Leica brand binoculars are highly rated / Available on Amazon.
2. Optical Telescopes
You might have looked though an optical telescope at a planetarium or at an astronomy event. You’ll be able to see the rings of Saturn or the bright stars of distant galaxy. A good telescope will have a large aperture, stable mount and a finder to help you locate celestial objects.
Beginners will do well with an 8-inch Dobsonian telescope; Sky-Watcher and Celestron Star-Sense offer good models for newbies. For about $1,000CDN you can get started but because telescopes are so complex, you’ll do better to buy from a store that specializes in them. Or join an astronomy club so you can try out different equipment before you buy.
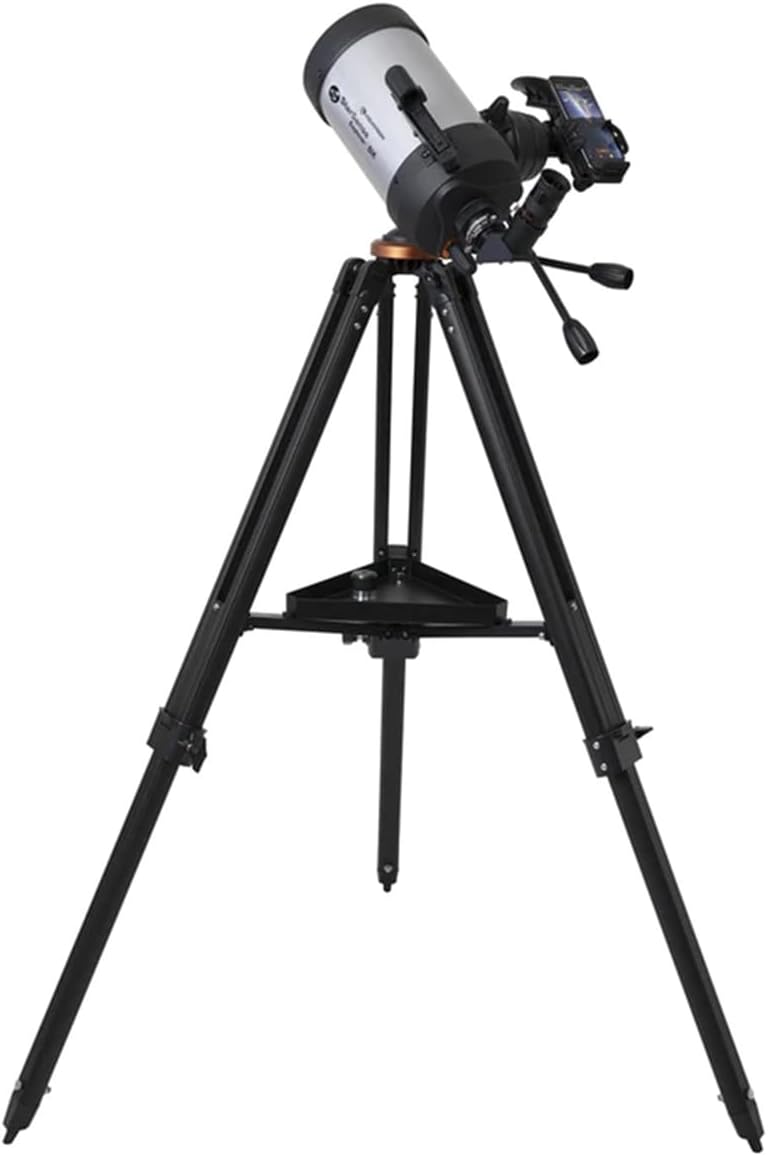
Celestun’s Star Scope telescope/ Available on Amazon.
3. Smart Telescopes
You might be surprised to know you can combine a love of photography and astronomy to create images worth hanging on your wall with a smart telescope. This super portable, app-controlled device let you capture images with a series of stacked photographs. You don’t even need to be near the telescope (great if you hate the cold).
You pick your celestial object, set the telescope to start and after a few minutes, it will reveal a celestial object on your device. The DWARFLAB DWARF 3 Smart telescope was designed with beginners in mind and sells for approximately $680CAD.


4. Cameras
You probably travel with a phone or tablet and both can take great photos and video of the sky no matter what time it is. For night sky pictures hold the camera still for several seconds or if you’ve got shaky hands, place it on a table or ledge or buy a small tripod.
For more advanced sky photography you might want to invest in a mirrorless or DSLR camera. Each brand has its fans but for the best images, look for something that has changeable lens. For night sky photography you will want a lens with a wide aperture such as 1.4, 1.8 or 2.8. The combination I rely on is a Sony A7IV with a Laowa 10mm f2.8 lens.
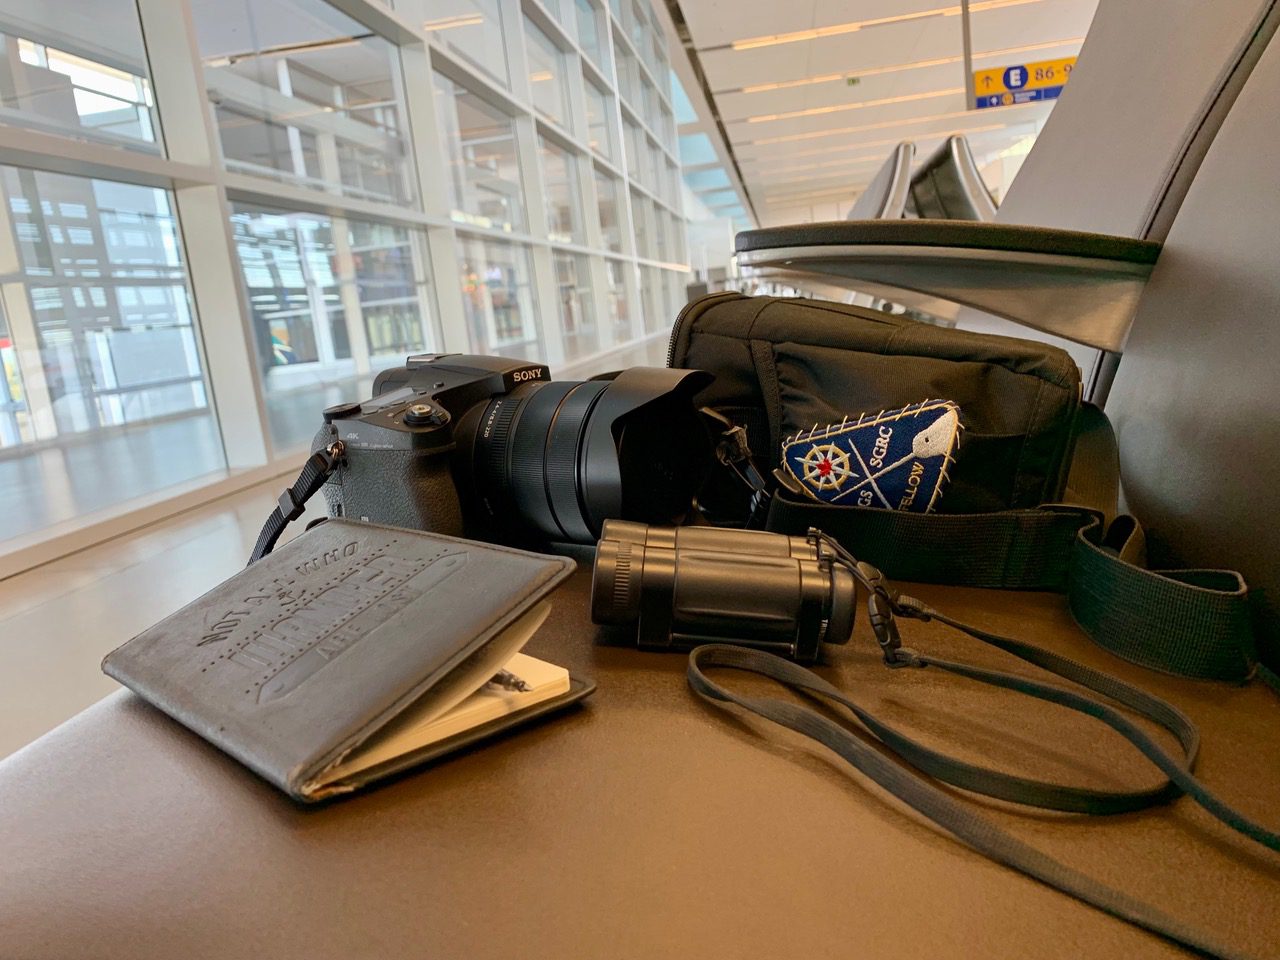
Optical equipment can add to a journey / Credit Carol Patterson
5. Tripods
If you’re shooting photos in low light, you will need a tripod for great results. For a phone, you can use a lighter tripod like a Sensyne 62” travel tripod.
For a mirrorless or DSLR camera, you will want something sturdy enough that it doesn’t blow over. I love my Manfrotto 144B but it’s heavy. If you’re taking a tripod on a flight something like the Manfrotto Element MII may be a better choice.
Be aware that not all airlines allow tripods in carry-on luggage especially if you strap them to the outside so be prepared to check a bag or call your airline to find out what their policy is.
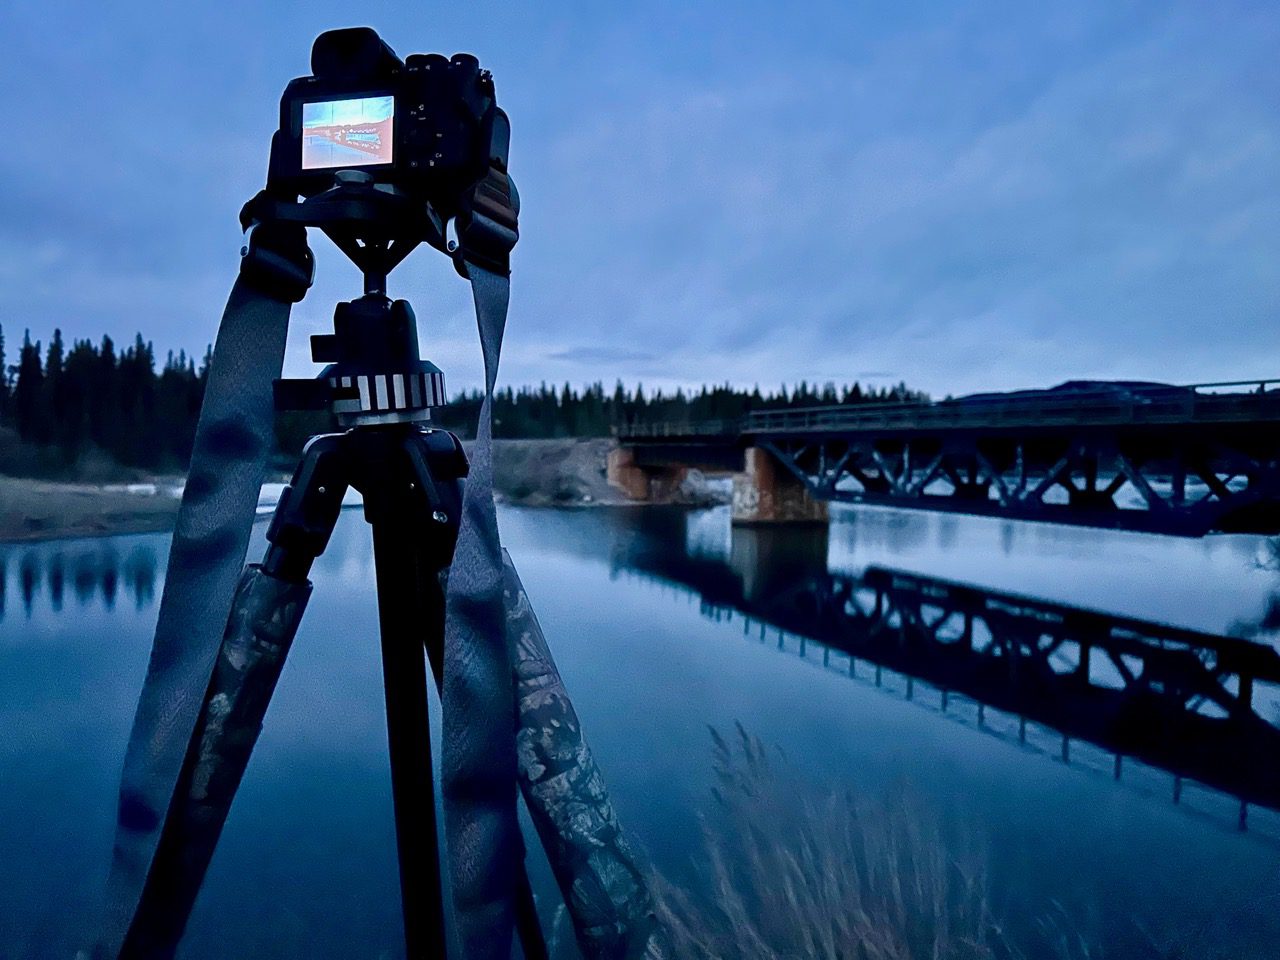
A tripod steadies your night photography / Photo Credit: Carol Patterson
6. Travel Bags
When you’re taking your gear on the road, you need a good camera bag big enough for your lens. Some people like a backpack style. I carry large lenses and don’t like the extra weight on my back so I use a OIWAS rolling backpack that I can wheel through airports and convert to a backpack on the trail.
Packing a dry bag big enough for your camera is a must if you’re going on a boat or out in rainy conditions. I like the range of bags sold at Mountain Equipment Co-op (MEC) in Canada.
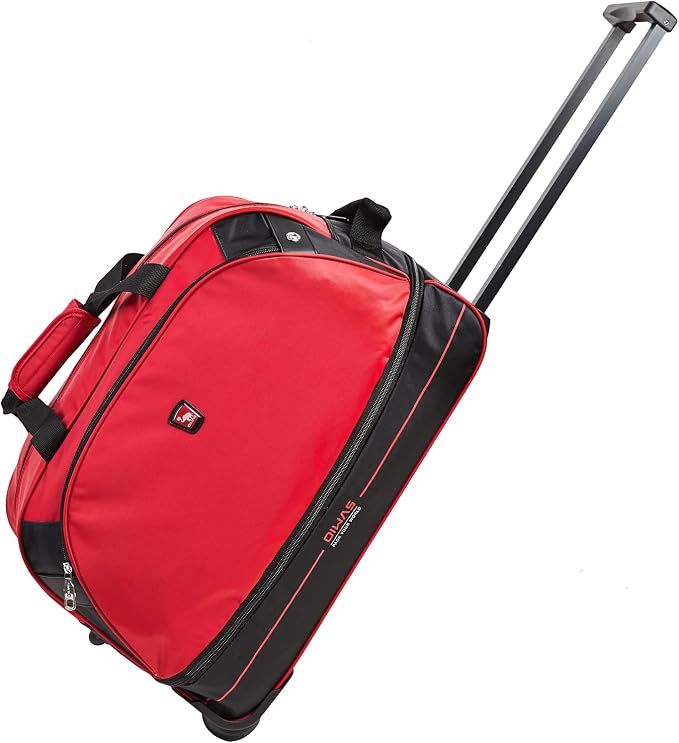
A camera case on wheels is great for travel/ Find this one at Amazon
5. Camera Settings
If you’re using a mirrorless or DSLR camera, stop using auto at night. Try the specialized night setting if your camera has one but shoot like a pro and switch to manual mode.
Familiarize yourself with setting aperture, ISO and shutter speed before it gets dark. Your owner’s manual can help you with this. Invest in a remote or cable shutter release so you don’t cause the camera to shake when you push the shutter button. Bring a red-light flashlight so you don’t ruin your night vision while you’re looking in your camera bag or at the ground. Charge your batteries in advance and keep them close to your body. Cold temps will drain them quickly.
These are some starting settings for mirrorless or DSLR cameras below. Practice and remember that photos will look lighter on your phone or in your viewfinder than they really are. Overexpose slightly. You also will need to use a manual focus. For stars set your focus on infinity and refine until distant objects are in focus.
- Milky Way or Aurora Photography – ISO1600, wide aperture (f1.4 – 3.5), 20 seconds
- Moon – ISO100 or 200, F8 or F11, 1/125 or 1/250
- Solar Eclipse – You MUST use a solar filter to avoid hurting your eyes during a partial eclipse and the time leading to totality. If you’re using a phone, get a filter clip holder based upon your model. Then purchase a ND 1,000,000 filter and insert into the holder. For a mirrorless or DSLR camera, use a high- quality filter from a reputable supplier like Daystar Filters. During totality you will remove the filter or you will have a dark image. Settings are ISO 100 or 200, F8 or 11, 1/500 to 1/4000 during partial eclipse, raise shutter speed to 1/2000 to 1/4000 during transition, then vary your shutter speed during totality to capture darker and lighter parts of the sun.Unless you’re shooting an eclipse, look for interesting foregrounds. Water makes the best foreground if you can catch a reflection of the night sky.
Apps for the Northern Lights, Dark Skies and astronomy
Planning a trip around sky viewing can be complicated. Different apps will help forecast the best day and time to be outside. Some I recommend are:
- Windy – Popular with birdwatchers, it has good forecasts of wind and precipitation.
Astrospheric – Provides forecasts for cloud cover, transparency and atmospheric turbulence for night sky photography - My Aurora Forecast & Alerts – Tells you how likely you are to see aurora borealis in an area. Aurora can be hard to forecast more than a few hours in advance. Join a Facebook group for people watching aurora in the area you’re visiting and watch for posts suggesting the aurora is active.
SkyView – Makes it easy to identify constellations. Point your camera at the sky and the constellations in that area are shown.
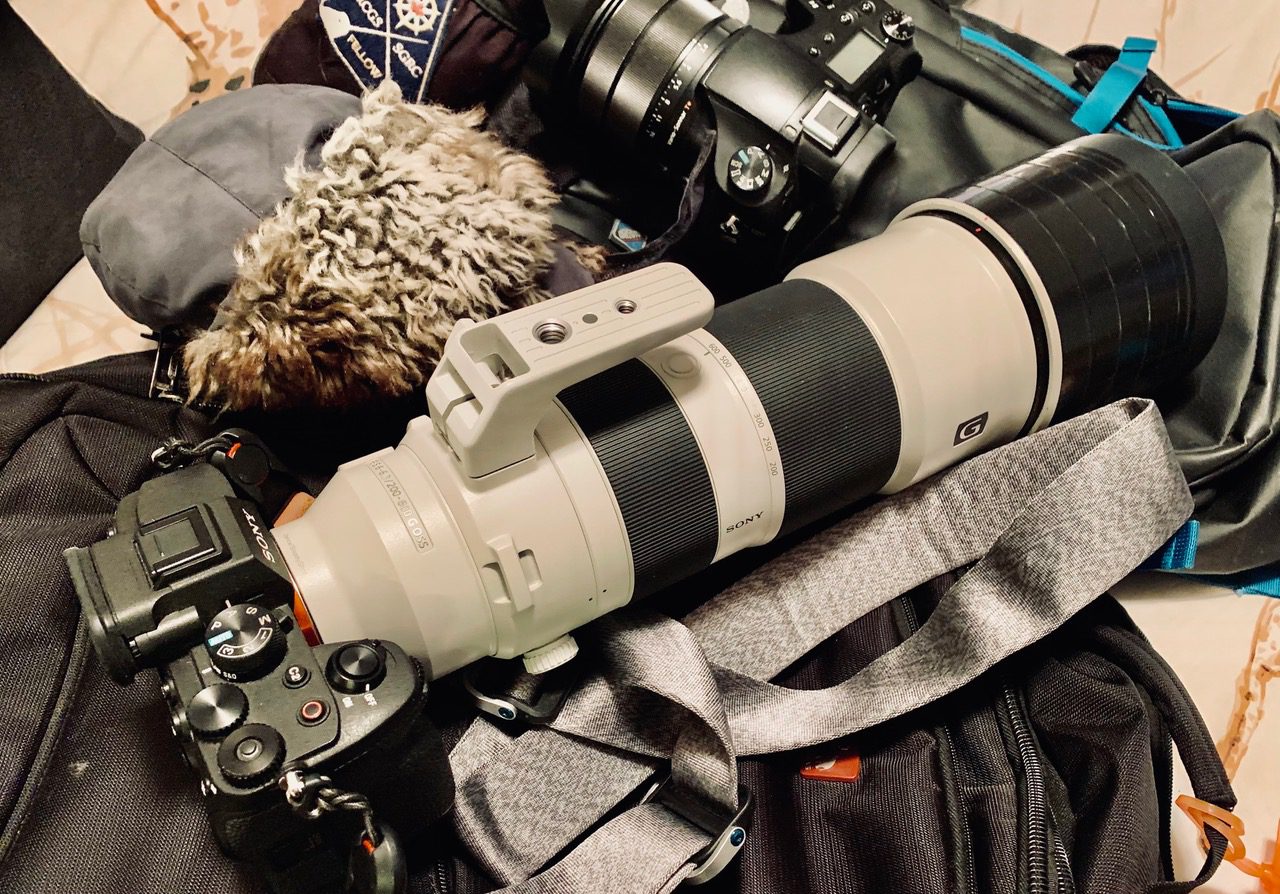
Keep your cameras in your carry-on bag / Photo Credit: Carol Patterson
More on Photography
The post Eclipses, Dark Skies and Astronomy: Our Best Gear to Look Skyward in Daylight or Starlight appeared first on JourneyWoman.